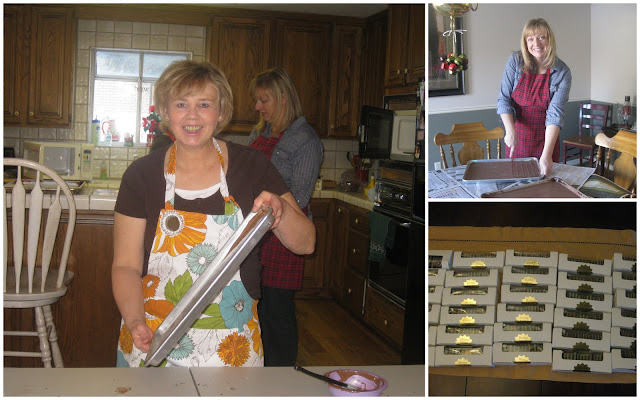
Michelle - the pounder; Les - the precise cutter.

The mint making process.
It's mint making time again! This has become an annual Christmas tradition. Our candy making group has mastered mint making. Each person is skilled at their assigned job, and makes the process seem fast and easy. Actually, we have the BEST "pounder" and that is what really makes the mints work.
This year we topped our record, by making 25 pans of mints in 4-5 hours. That included a tasty lunch delivered by Wasatch Brewery; lots of chatting; and entertaining toddlers. Here is the recipe:
Fernwood Mints
22 0z. Milk Chocolate
11 oz. Green Chocolate (or white chocolate colored green)
Mint oil or Mint Flavoring
Measure 11 ounces of chocolate and melt in a double boiler, warm oven, or microwave. Put a dab of chocolate on a 12 X 18 jelly roll pan, (or cookie sheet with sides) to hold wax paper down. Trim wax paper sides or it will fall into the mints. Add 6 drops of mint oil or flavoring to taste in the melted chocolate.
Start at one end of the pan and quickly smooth chocolate with a spatula until it's even all over the pan. Grip sides of the pan and pound 6 or 7 times on counter. This makes chocolate smooth and even. Let stand while 11 ounces of green chocolate is melted.
Important: Chocolate layer in pan is ready when it barely loses its sheen all over. If it sets up too hard the layers break apart. Remedy: If too set up, put pan in warm oven briefly. Let set again to loose sheen. (This can be done to the next layers also).
When green chocolate is melted, add mint. Carefully spread on first layer. Try not to go over and over same area, as the 2 layers of chocolate will mix. When layer is on, pound and let sit.
Melt last chocolate. Add mint. Repeat process. Spread quickly, pound, sit until sheen is gone. Cut immediately into 1-inch or smaller squares. It won't cut if you wait too long. If you don't want curved edges on the outer mints, cut 1/4 inch around outer edge.
Enjoy!


1 comments:
yumm. They look so professional. You Brown women are an inspiration to me.
Post a Comment